简介
- 利用opencv中训练好的模型来识别人脸
- 利用openvino中的预训练的模型来检测表情
环境准备
安装openvino
由于openvino最新版只支持到python3.9大版本,所以如果python版本为3.10,请再安装3.9版本,两个python版本可以共存。也可以配置到虚拟环境,不再赘述
在控制台中输入以下命令, 升级pip 版本
1
python -m pip install --upgrade pip
安装 openvino-dev
1
pip install openvino-dev
验证安装是否成功
1
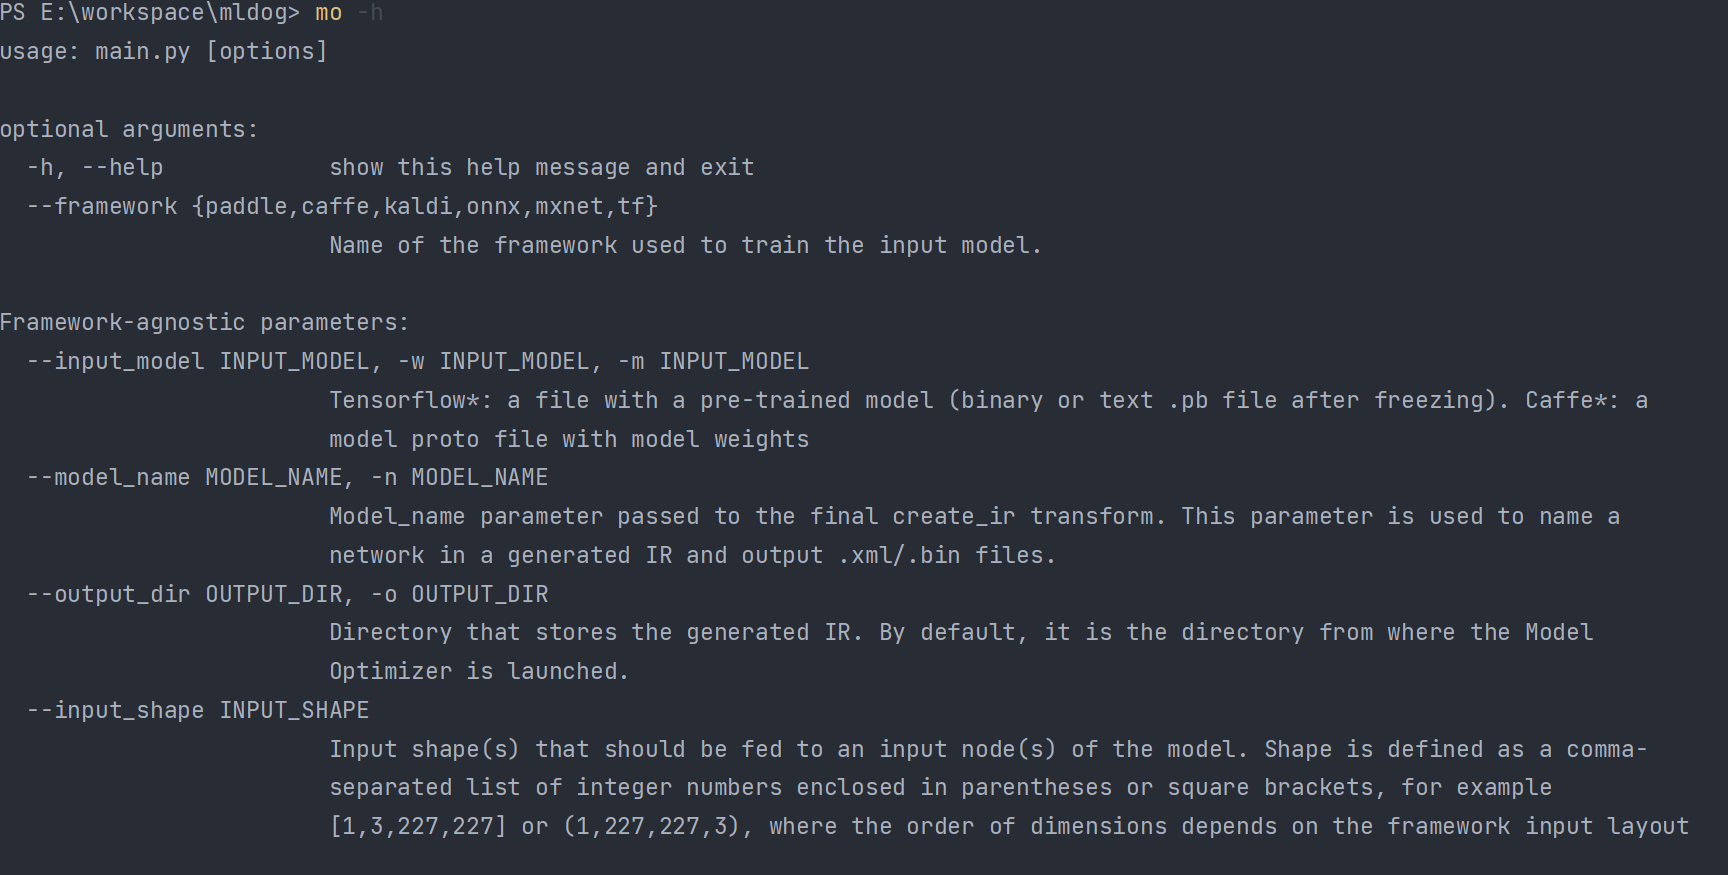
mo -h
应该看到以下图片
**这时候相关依赖(例如opencv、numpy等)应该已经都装好,可以通过pip list 查看,若缺少相应依赖,则继续通过pip安装**
下载预训练模型
控制台输入以下命令
1
omz_downloader --name emotions-recognition-retail-0003
这会在你当前目录下生成intel目录,emotions-recognition-retail-0003会包含在该文件夹下
接着导入opencv的人脸检测模型
进入github,https://github.com/spmallick/learnopencv
下载整个仓库,然后进入AgeGender 目录下, 提取opencv_face_detector.pbtxt和opencv_face_detector_uint8.pb
代码
首先导入刚刚的模型以及相关库
1 | import cv2 as cv |
接着设置表情识别模型
1 | labels = ['neutral', 'happy', 'sad', 'surprise', 'anger'] |
定义表情识别方法
1 | # 读取人脸检测模型 |
最后调用摄像头或者视频等
1 | if __name__ == "__main__": |